Monthly Archives: October 2012
Frozen Yogurt vs. Ice Cream
Froyo – my favorite post-race treat. ;) Ever since self-serve frozen yogurt joints started springing up all over the place, my friends and I love to stop in during movie nights or shopping trips. It helps that they boast non-fat flavors and plenty of healthy fruit toppings. As an ice cream lover, it seems like a healthier choice over a pint of Ben n’ Jerry’s, right?!

Since ice cream is made with heavy cream, it’s unavoidably a fattening dessert. There’s really no getting around it, although most companies are making lower-fat and lower-sugar varieties which definitely reduce calories and fat.
Already, frozen yogurt is less fattening because many flavors use a non-fat yogurt base. (Be careful – not all do! Anything with ‘Peanut Butter’ or ‘Cheesecake’ is probably a dead giveaway that it is not non-fat. Look at the labels.)
Some Surprising Truths:
I compared 1 cup of soft-serve Golden Vanilla frozen yogurt to 1 cup of Ben n’ Jerry’s Vanilla ice cream. One point for froyo as is clocks in at about half the calories – 240cals vs 460.
Frozen yogurt contained 75% MORE sodium though! It contained 130mg, or 5% of our daily value. I didn’t expect yogurt to have a significant amount of sodium.
The two were equal in carbohydrate content, 46 grams.
Frozen yogurt, fat-free or not, is still very high in sugar. 1 cup holds 35 grams of sugar, compared to ice cream’s 40.
While ice cream has significantly more fat, it really is just about moderation. I don’t think frozen yogurt is drastically more healthy than ice cream, if you know portion control!
(Well….anything’s gotta be better for you than this right?)

Remember the story of the pig and the trough?
Your toppings can really make or break the nutrition value of your cup! When in doubt, pile on the fruit ;) Sliced almonds, pecans, pretzels, dark chocolate chips or carob chips are also great.
Your best bet? Make your own! Try Peaches n’ Pecan Greek Frozen Yogurt or Strawberry S’mores Greek Frozen Yogurt at home!
Sweet Pear Salsa
Like the middle child, pears have been highly overshadowed by the plethora of pumpkin and apple recipes every autumn. I mean, you don’t hear about amazing recipes for pear cookies, pear spice lattes, or pear pies. But pears are a Fall fruit too! They are in season fall through winter, though not quite up to the hype of the popular pumpkins :P

Just like apples, pears come in a variety of flavors and according to Runner’s World Magazine they contain 25% of our day’s fiber with plenty of Vitamin C, Vitamin K, potassium and electrolytes. I had 3 in my fridge and an urge to try something new. (But healthy, of course. Though if you’re not in the mood for something healthy, Joy the Baker’s Pear Spice Cake with Walnut Praline Topping is a winner.) The product: Sweet Pear Salsa!

Sweet Pear Salsa:
3 Medium ripe d’Anjou pears
1/4 cup drained crushed pineapple
1/4 cup diced purple onion
1 Tbs cilantro
Juice of 1 Lime
*I used Stacy’s Cinnamon Sugar Pita Chips for dipping!
- Wash and dice the pears. I like to keep the skin on!
- Combine diced pears, pineapple, onion and cilantro.
- Sqeeze the lime juice, cover and refrigerate.
- Enjoy with your favorite pita chips, on a burger, or on toast!
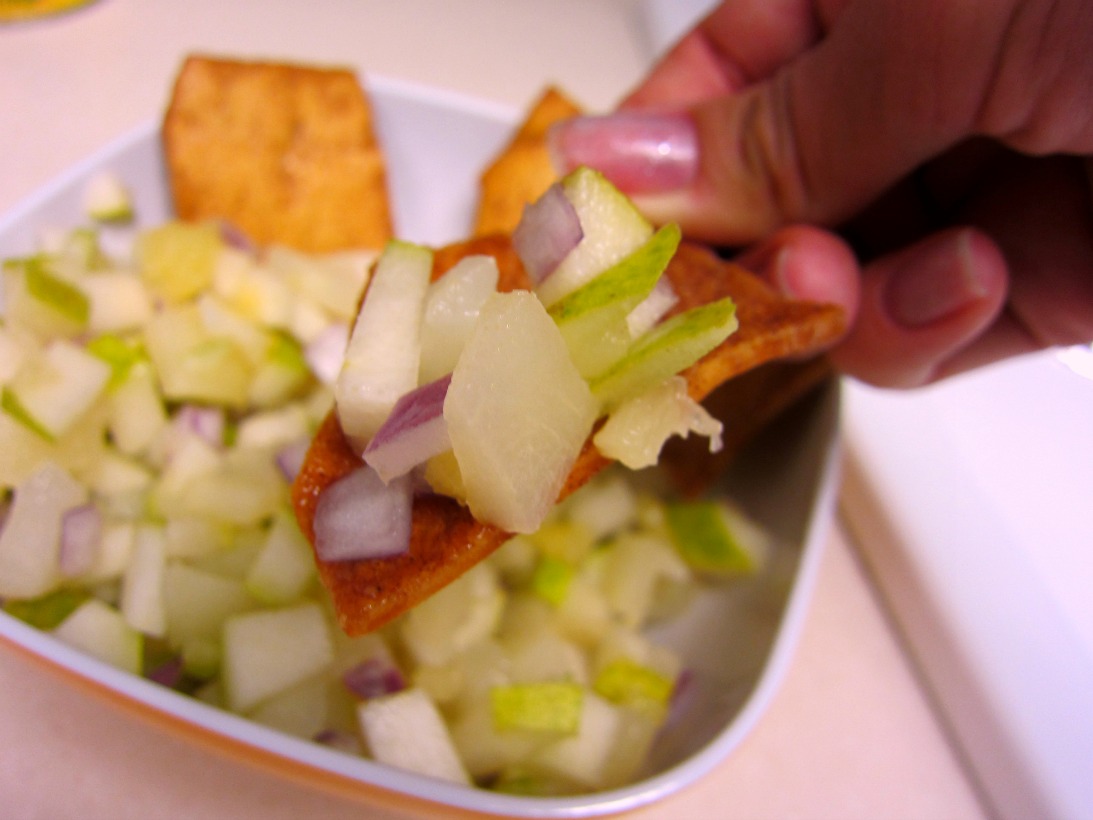
It’s sweet n’ citrus-y, and perfectly delightful for when you’ve had enough pumpkin (HAH like that’ll happen…) ;)
Pin this here: %20Mmmmm "Pin It")
The WALL Workout
Sometimes in a race, you hit a wall; sometimes on a diet, you want to punch a wall; sometimes, in a workout you can use a wall.

The WALL Workout:
Basically, there is no excuse to not to be able to do this workout unless you live in a tent. There are 5 exercises, targeting the core, butt, quads, and chest.
1. Wall Push-ups – takes all the impact away from your knees. The further your feet are from the wall, the more challenging! But keep your body in a flat, straight line from your head to your toes! (Set of 20)

If you’re really up for a challenge, try the modifed one-arm push-up:

2. Wall Hip Hikes – this one looks a little funny. But it really works your obliques! Lean the side of your body against the wall; now move your feet about 3′ away from the wall, but keeping your hip bone against the wall. Engage your obliques and bring your hips into alignment with your body, touch back to the wall and repeat. It should look something like this:

Repeat on other side. (Set of 20 on each side)
3. Wall Sits – you all know these. The shake-inducing pose that leaves you burning ;) Make sure your feet, knees and hips make a 90 degree angle with your back flat against the wall sitting tall. No cheating! Hold for 1 minute.

The one you love to hate!
4. Wall Hip Bridge – time to work the booty. Lie down with your back on the floor, facing the wall. Put your (clean) feet flat against the wall, then lift your butt and hips as high off the ground as you can. Hold it and squeeze for 1 minute!

5. Toe Touches – Abs engage! Without bending your knees, place your legs straight up in the air, bringing the back of your legs and your butt to the wall. Alternating hands, reach up and try to touch your opposite hand to foot. (Set of 20 with each hand)

Make it a circuit and complete 3-5 rounds, depending on your desired difficulty level. It’s up to you how challenging this workout can be!
Pin this workout here:


